


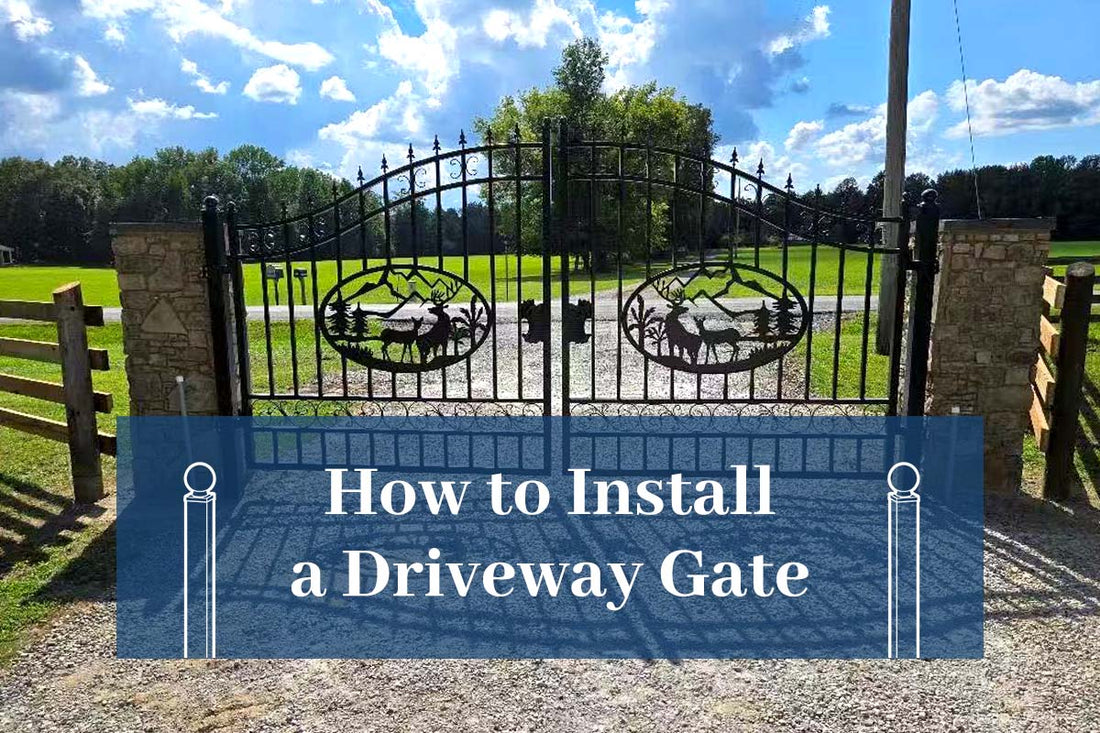
How to Install a Driveway Gate: Step-by-Step Guide
A driveway gate can enhance the security of your property. It can also add value to your home or commercial place. Whether it is a single or double swing gate, proper installation is crucial. When installed in a wrong way, the gate may not perform well. Its lifespan also get affected.
In this article, we will walk you through the steps to install a driveway gate correctly. Read on to get your installation smoother.
Preparation before installing a driveway gate
Whether you are a DIY enthusiast or a first-time installer, here is what you need to prepare before installation.
Measure your driveway for the perfect gate fit

Measure the width of your driveway. The gate should be slightly wider than the driveway. For example, if your driveway is 13.5 ft wide, it is best to choose a 14 ft gate. For residential properties, gates between 12 and 14 ft are usually sufficient. However, busy commercial properties may require gates over 14 ft to accommodate larger vehicles.
Also, you should measure the height of your driveway. It can affect the outlook and privacy of your property. Driveway gates are typically 6 to 8 ft high. For aesthetic reasons, the gate should not be taller than the driveway’s entrance.
Decide between a single or double swing driveway gate
Single swing gates are simpler and work well for narrower driveways. But with one panel, it can cause stress on the hinges over time. Double swing gates distribute the weight across two panels, making them more durable and easier to operate.
Check whether you need a permit
It’s important to confirm with your local council whether a permit or planning permission is required. Regulations may vary depending on your location, the type of gate, and how it opens. For example, gates that swing outward toward a public road often require approval, while inward-opening gates may not. Checking with the local council beforehand can help avoid fines and having to remove the gate later.
How to install a driveway gate: 5 steps
Installing a driveway gate sounds like a daunting task, but it can be easy when you follow these steps.
1. Check all the parts

Check all the parts, including gate panels, hinges, bolts, and so on. Ensure they are ready for installation.
2. Mark the area

Mark the spots where the gate posts will be installed. Use a string line to ensure the posts will be in a straight line. Remember to leave a 5-inch hinge gap between the gate post and the frame.
3. Dig post holes

Dig the post holes to a depth equal to 1/3 of the post’s length. Make each hole 3 times the post’s width. If you plan to add gravel or crushed stones for better drainage, dig an additional 6 to 8 inches deeper.
4. Place the post in the hole

Place the post in the center of the hole, and get it vertical to the ground. You may use a level or a plumb line to check it.
5. Fill the hole with concrete

Mix the concrete and pour it into the holes. For a 4x4 post, it’s recommended to use at least 3 bags of 50 lbs of concrete. You may add more when your post is larger or heavier. Then allow the concrete to cure for 48 to 72 hours.
6. Attach the gate panels

Attach one gate panel to the post by connecting the pre-installed hinges on the gate frame to the post. Repeat the same process for the other gate panel, ensuring both panels are securely mounted and aligned.
Tips for installing a driveway gate
1. Wear safety equipment
Your security is the top priority during installation. Wear safety equipment such as gloves, goggles, or hard hats to protect you from injuries.
2. Seal the gap between the concrete and the gate post
There could be gaps between the concrete and the post. Seal the gap to prevent water pools and extend your post’s lifespan.
3. Get assistance from others or professional installers
Driveway gates often weigh around 300 lbs or more. You had better install the gate with at least one partner in case of any accidents. If you want to save time and energy, you may work with a professional installer. A reliable gate installer can get the gate set up more quickly.
Conclusion
Installing a driveway date involves 6 steps: check all parts, mark the area, dig post holes, place the post in the hole, fill the hole with concrete, and attach the gate panels. Following this guide, you can finish the installation more efficiently.
If you have any issues, please contact our customer service. As a popular brand for gates and industrial supplies, we are ready to help you at any time.
FAQs
1. What size driveway gate do I need?
A standard driveway gate is typically 12 to 20 ft wide. The ideal size depends on the width of your driveway and the largest vehicle that will pass through.
Measure your driveway carefully and consider vehicle clearance before choosing your gate.
2. How deep should a driveway gate post be in the ground?
A driveway gate post should be buried 2 to 3 feet deep. The depth is usually one third of the post length. It can be adjusted to suit the gate’s size, weight, soil type, and the environment. If you buy a larger and heavier driveway gate, the post should be buried deeper. The most important thing is to ensure effective drainage around the post’s base.
3. How high should a driveway gate be off the ground?
The clearance between the bottom of your gate and the ground is generally 2 to 4 inches, which is 5 to 10 cm. Proper clearance can prevent the gate from scraping when it opens or closes.
4. Do driveway gates swing in or out?
Driveway gates can swing either in or out. In most cases, they are designed to swing inward for safety reasons, as this prevents the gate from blocking public roads. An inward swing also feels more welcoming to visitors as they enter your driveway. However, an outward swing may be a better option if the space inside your gate is limited or your driveway slopes upward.
5. How long do driveway gates last?
Our driveway gates can last for decades with proper maintenance and cleaning tips. These gates for driveway are made from high quality galvanized steel, durable and rust-resistant. They are powder coated to resist cracking and peeling over time. We also provide a 1-year warranty to cover any manufacturing defects.
6. Do I need permission to install a gate?
You may need a permit to install a driveway gate. Please confirm with your local council before installation to avoid fines or having to remove the gate later.


